> ## Documentation Index
> Fetch the complete documentation index at: https://docs.rankai.ai/llms.txt
> Use this file to discover all available pages before exploring further.
# Install the site script on a website built with code
> Add the RankAI technical SEO & AEO script to a website built with code, including Next.js, React, and HTML sites.
Use this guide to add RankAI's technical SEO & AEO script to a website built and maintained through code, such as Next.js, React, or plain HTML. This includes sites built with AI coding tools. The script runs in the background and helps search engines understand your pages better. You add it to the **\** of your site so it loads on every page where you want RankAI to apply changes.
In RankAI's platform selector, this option is called **Custom Built Site**. Installing the script is separate from [publishing articles through the API](/integrations/custom-site).
## Where to get your code
In your RankAI project, go to **Technical SEO** in the sidebar and click the **Apply Changes** button at the top right. Select **Custom Built Site** as the provider. You'll see a snippet of code like the one below. Copy the whole thing—your version will include your own project ID.
```
```
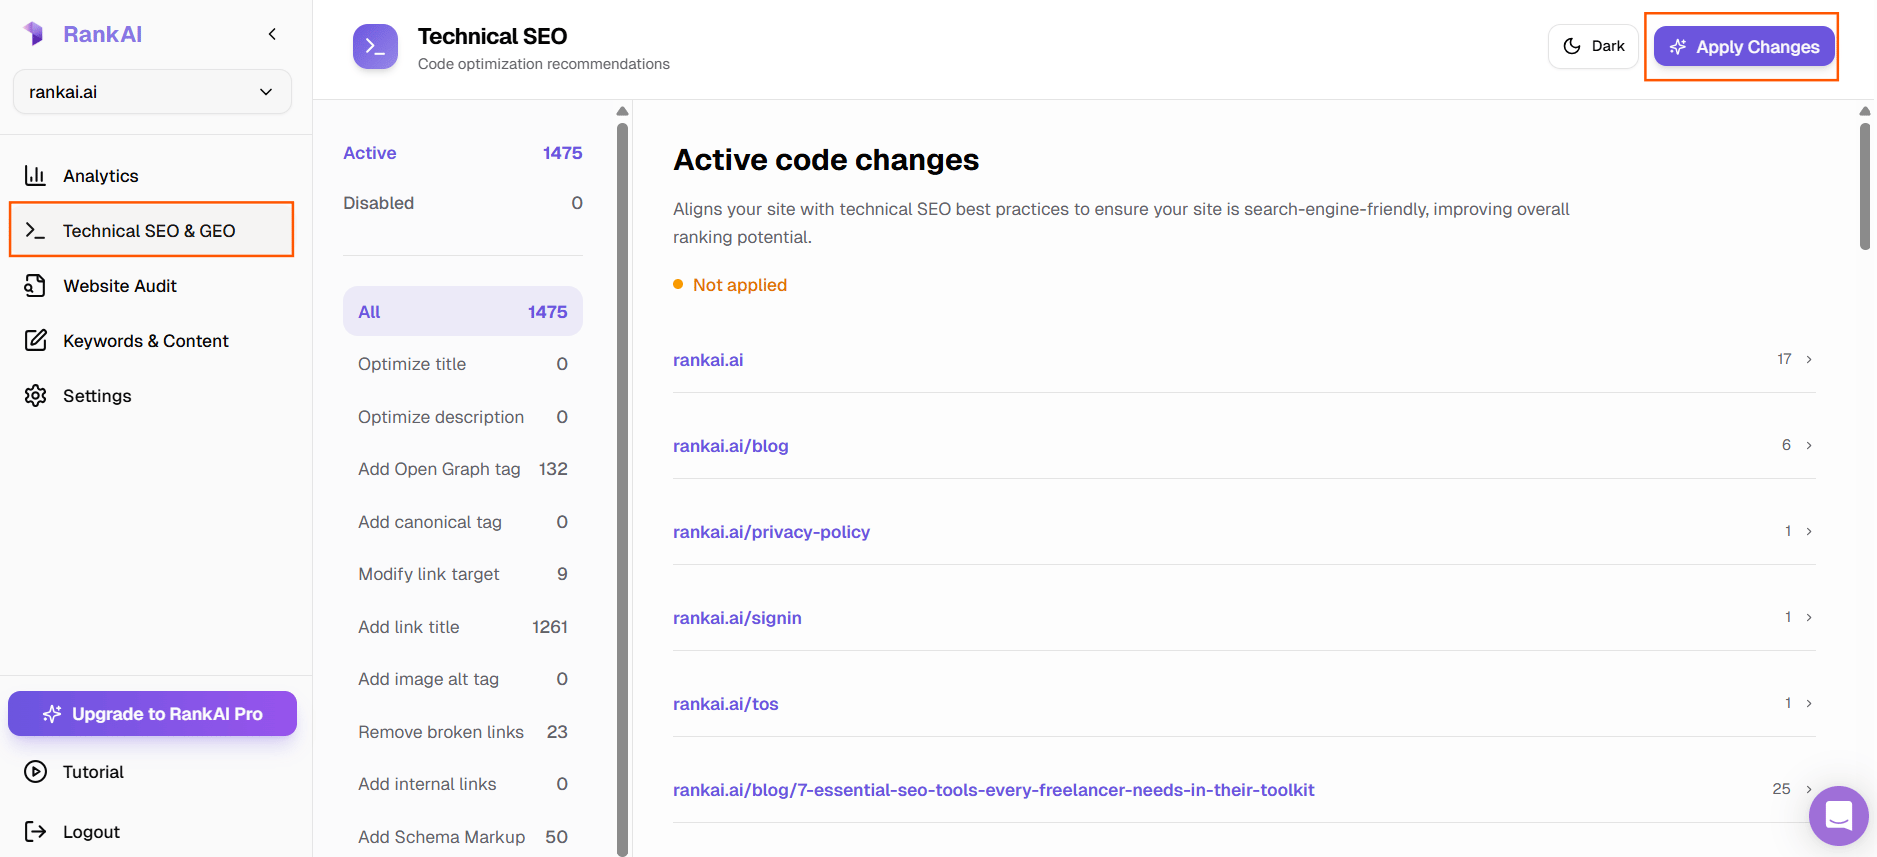 *Technical SEO → Apply Changes → select Custom Built Site, then copy the script from the step shown.*
Keep that code handy. In the next steps you'll add it to the \ of your site so it loads on every page where you want RankAI to apply technical SEO & AEO changes.
## Step 1: Locate where your \ is defined
Your site has a place where the shared top of every page is defined—usually the **\** section. Add the RankAI script inside that \ so it loads on all relevant pages.
* **Next.js (App Router):** Open `app/layout.tsx` (or `app/layout.js`). The root layout wraps every page and typically includes the \ or metadata.
* **Next.js (Pages Router):** Open `pages/_document.tsx` (or `_document.js`). That file controls the HTML shell, including \.
* **React (Create React App or similar):** Open `public/index.html`. The \ is in that file.
* **Plain HTML:** If you have one main template or layout file that every page uses, open that. If each page is a separate HTML file, add the script to each page's \ (see Step 3).
## Step 2: Add the script to the \ section
In the file you found, locate the **\** section. Add the RankAI script **inside** \, before the closing ``. Paste the full line you copied from RankAI. Don't change or remove any part of it.
**Next.js App Router:** You can use the `
*Technical SEO → Apply Changes → select Custom Built Site, then copy the script from the step shown.*
Keep that code handy. In the next steps you'll add it to the \ of your site so it loads on every page where you want RankAI to apply technical SEO & AEO changes.
## Step 1: Locate where your \ is defined
Your site has a place where the shared top of every page is defined—usually the **\** section. Add the RankAI script inside that \ so it loads on all relevant pages.
* **Next.js (App Router):** Open `app/layout.tsx` (or `app/layout.js`). The root layout wraps every page and typically includes the \ or metadata.
* **Next.js (Pages Router):** Open `pages/_document.tsx` (or `_document.js`). That file controls the HTML shell, including \.
* **React (Create React App or similar):** Open `public/index.html`. The \ is in that file.
* **Plain HTML:** If you have one main template or layout file that every page uses, open that. If each page is a separate HTML file, add the script to each page's \ (see Step 3).
## Step 2: Add the script to the \ section
In the file you found, locate the **\** section. Add the RankAI script **inside** \, before the closing ``. Paste the full line you copied from RankAI. Don't change or remove any part of it.
**Next.js App Router:** You can use the `